
From install to your first PDF
Five short steps. The first one takes a few minutes because TeXAnt downloads LaTeX packages once; after that you can work offline.
1. Run the setup wizard
On first launch TeXAnt walks you through ten short steps. Most are optional; these are the ones that matter:
- Where your projects live. Pick a folder in the Files app, for example in iCloud Drive or On My iPad. Projects kept only in the app's own storage are deleted if you delete TeXAnt, so a folder of your own is the safer choice.
- A LaTeX bundle. Minimal (about 150 MB) is enough for a basic article. Balanced (about 159 MB) is the recommended start with broad package and font coverage. Extended (about 444 MB) adds much more. Use Wi-Fi if you can; anything missing later installs in one tap.
- Optional connections. The Math OCR model, a cloud account, a reference manager and a Git provider can all be set up here or later in Settings.
- Privacy. Sharing anonymous usage data is off unless you turn it on.
At the end, choose Open a sample project to get a ready article called “Welcome to TeXAnt”. You can run the wizard again from Settings → About → Rerun Setup Wizard.
2. Create or open a project
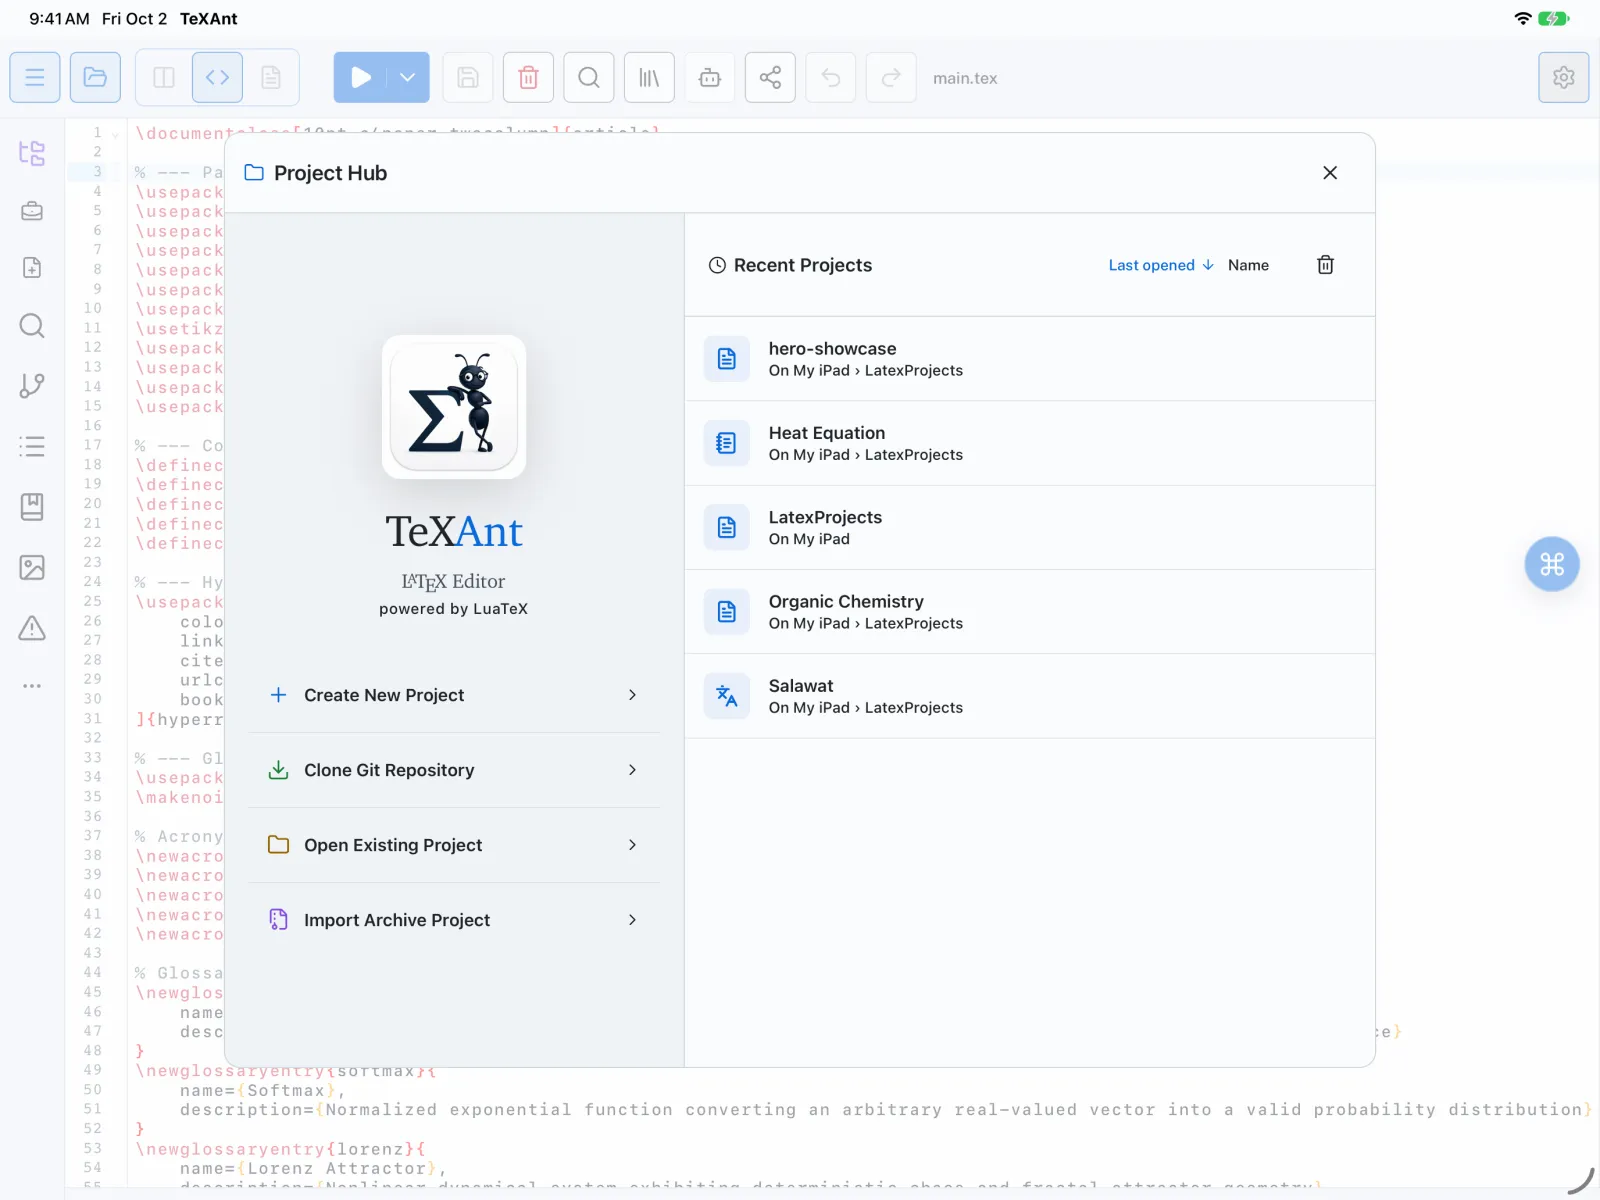
The Project Hub is the first screen after setup.
- Create New Project starts from a folder, from one of 16 templates, or from a cloud account.
- Open Existing Project opens a folder, a single file or a cloud project.
- Clone Git Repository takes a GitHub, GitLab, Bitbucket or Overleaf link. See Working with Overleaf.
- Import Archive Project unpacks a ZIP or tar archive into a new project.

3. Compile
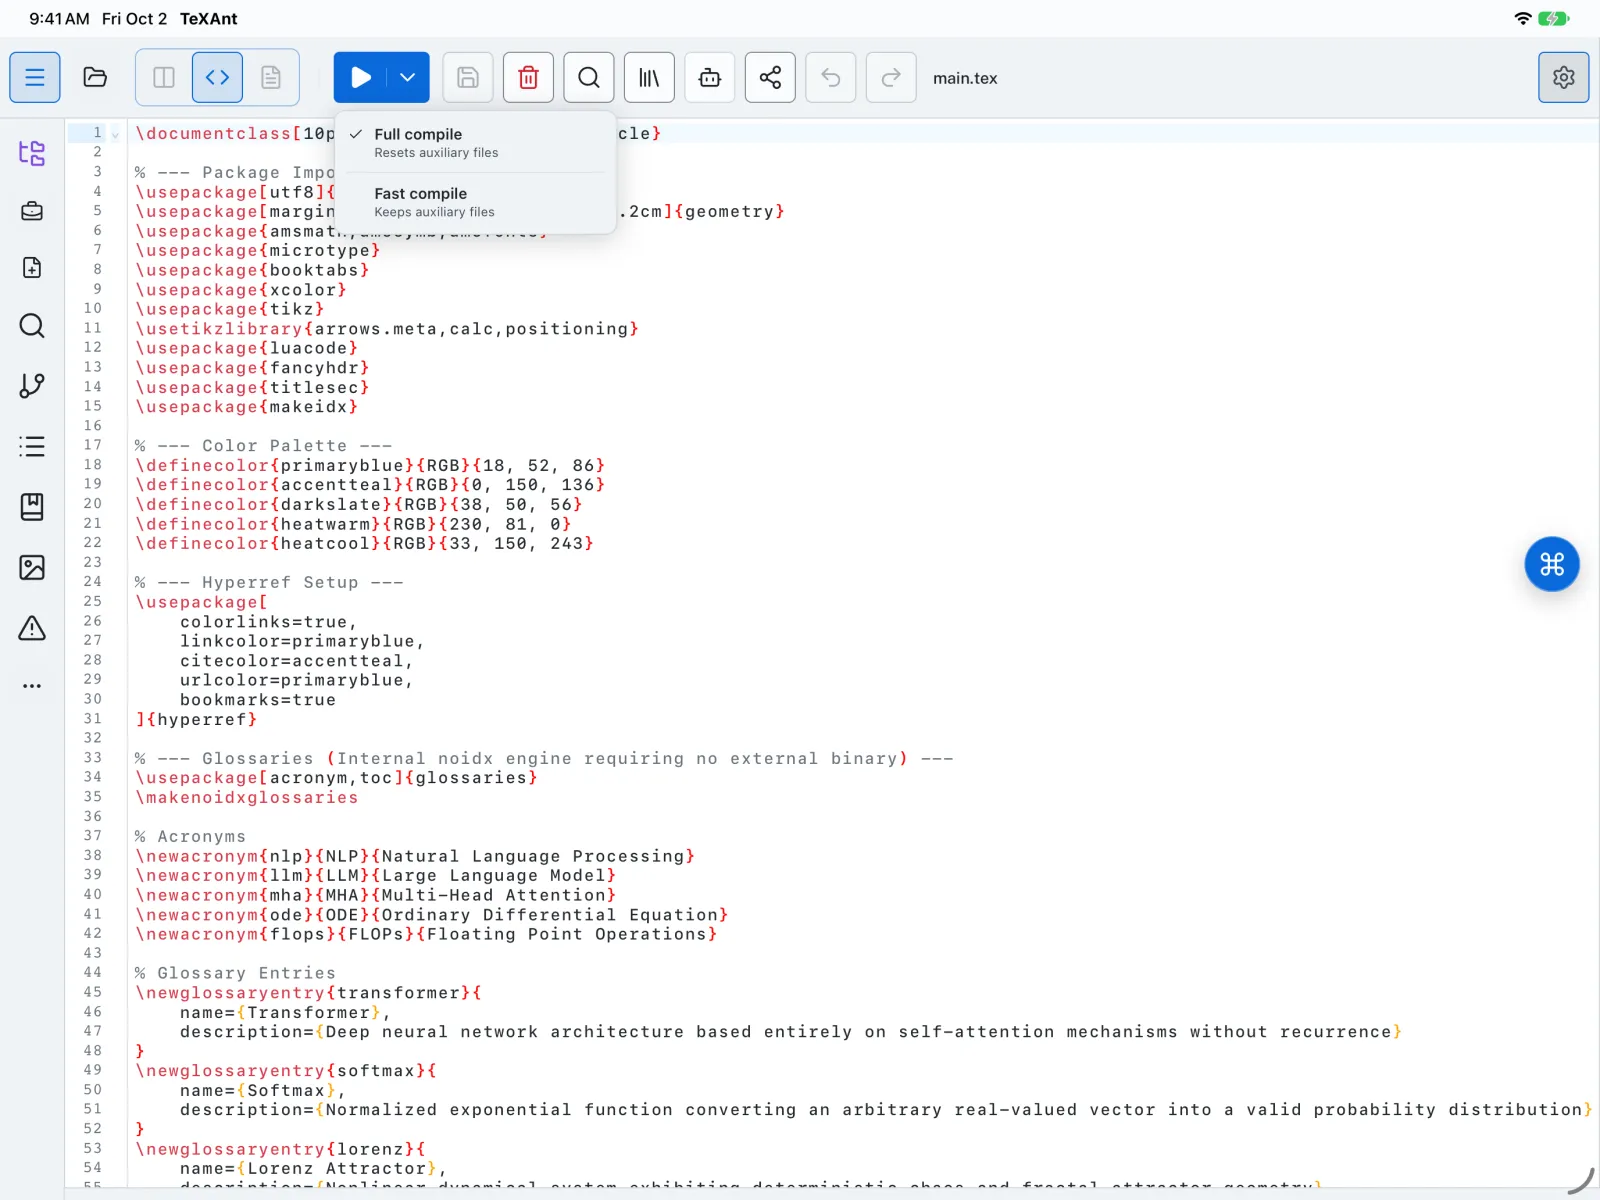
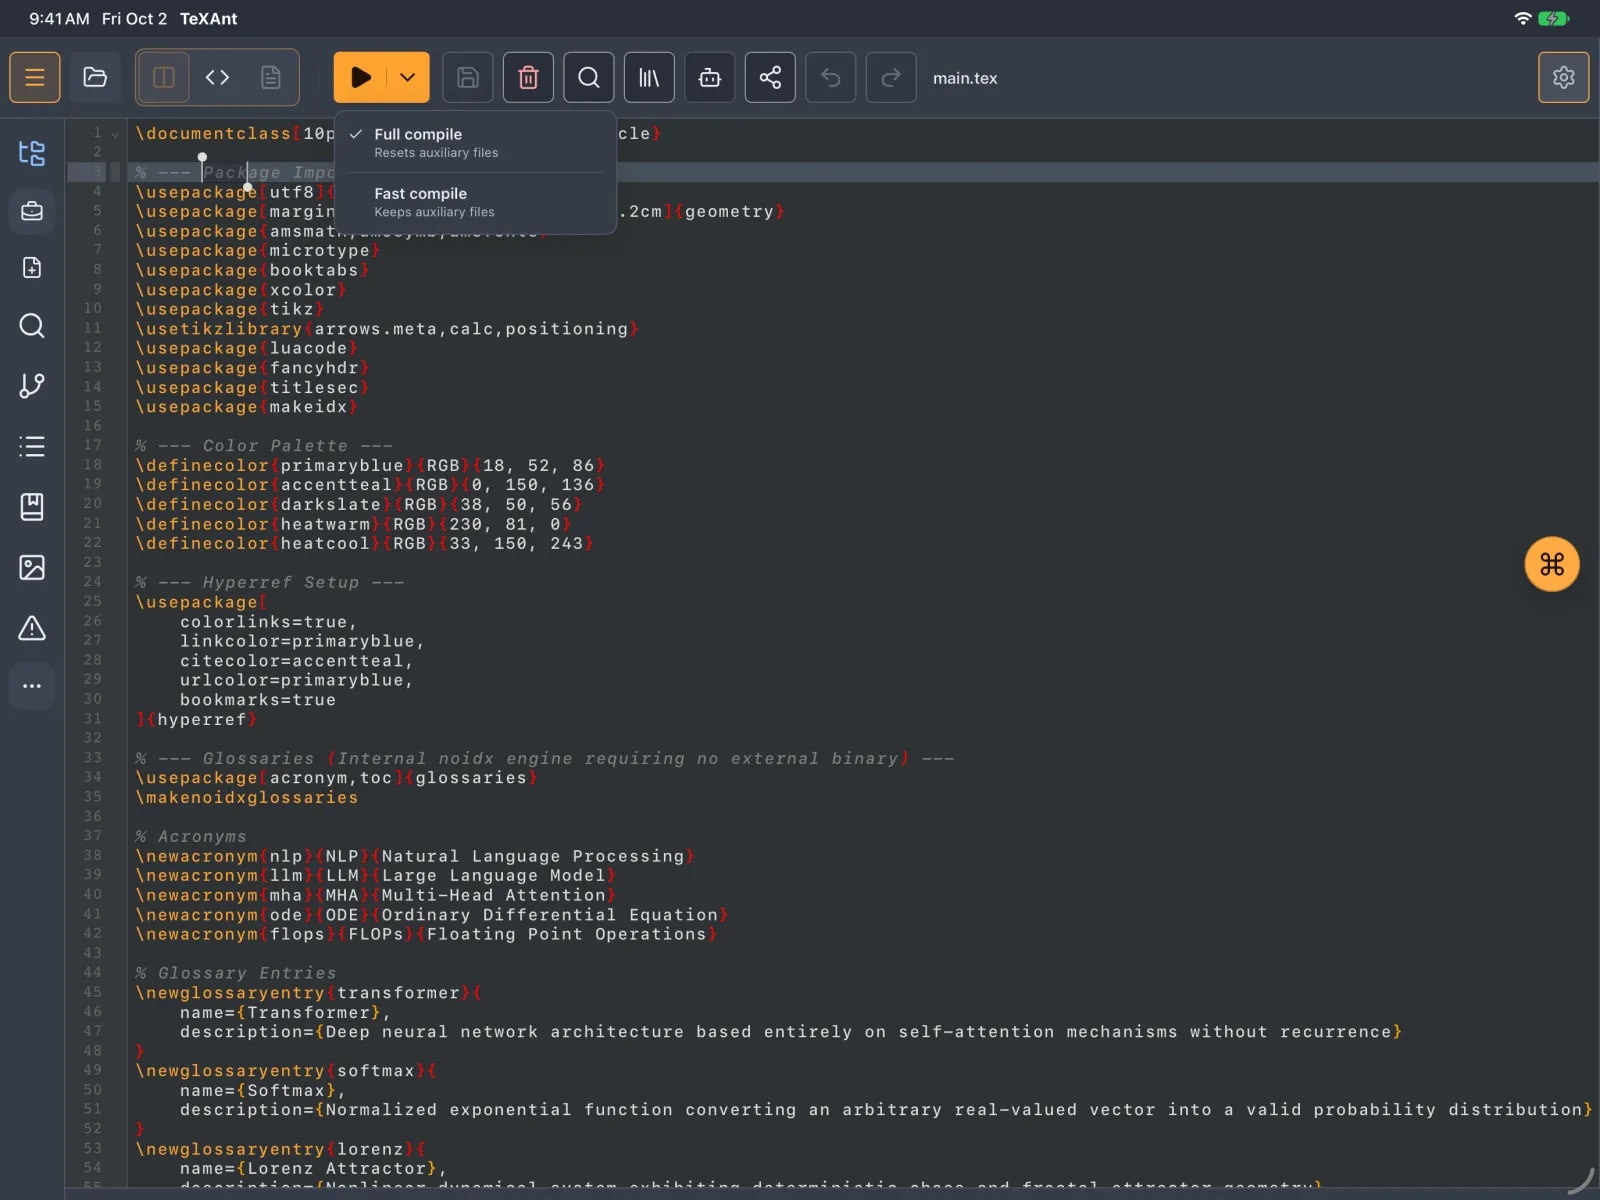
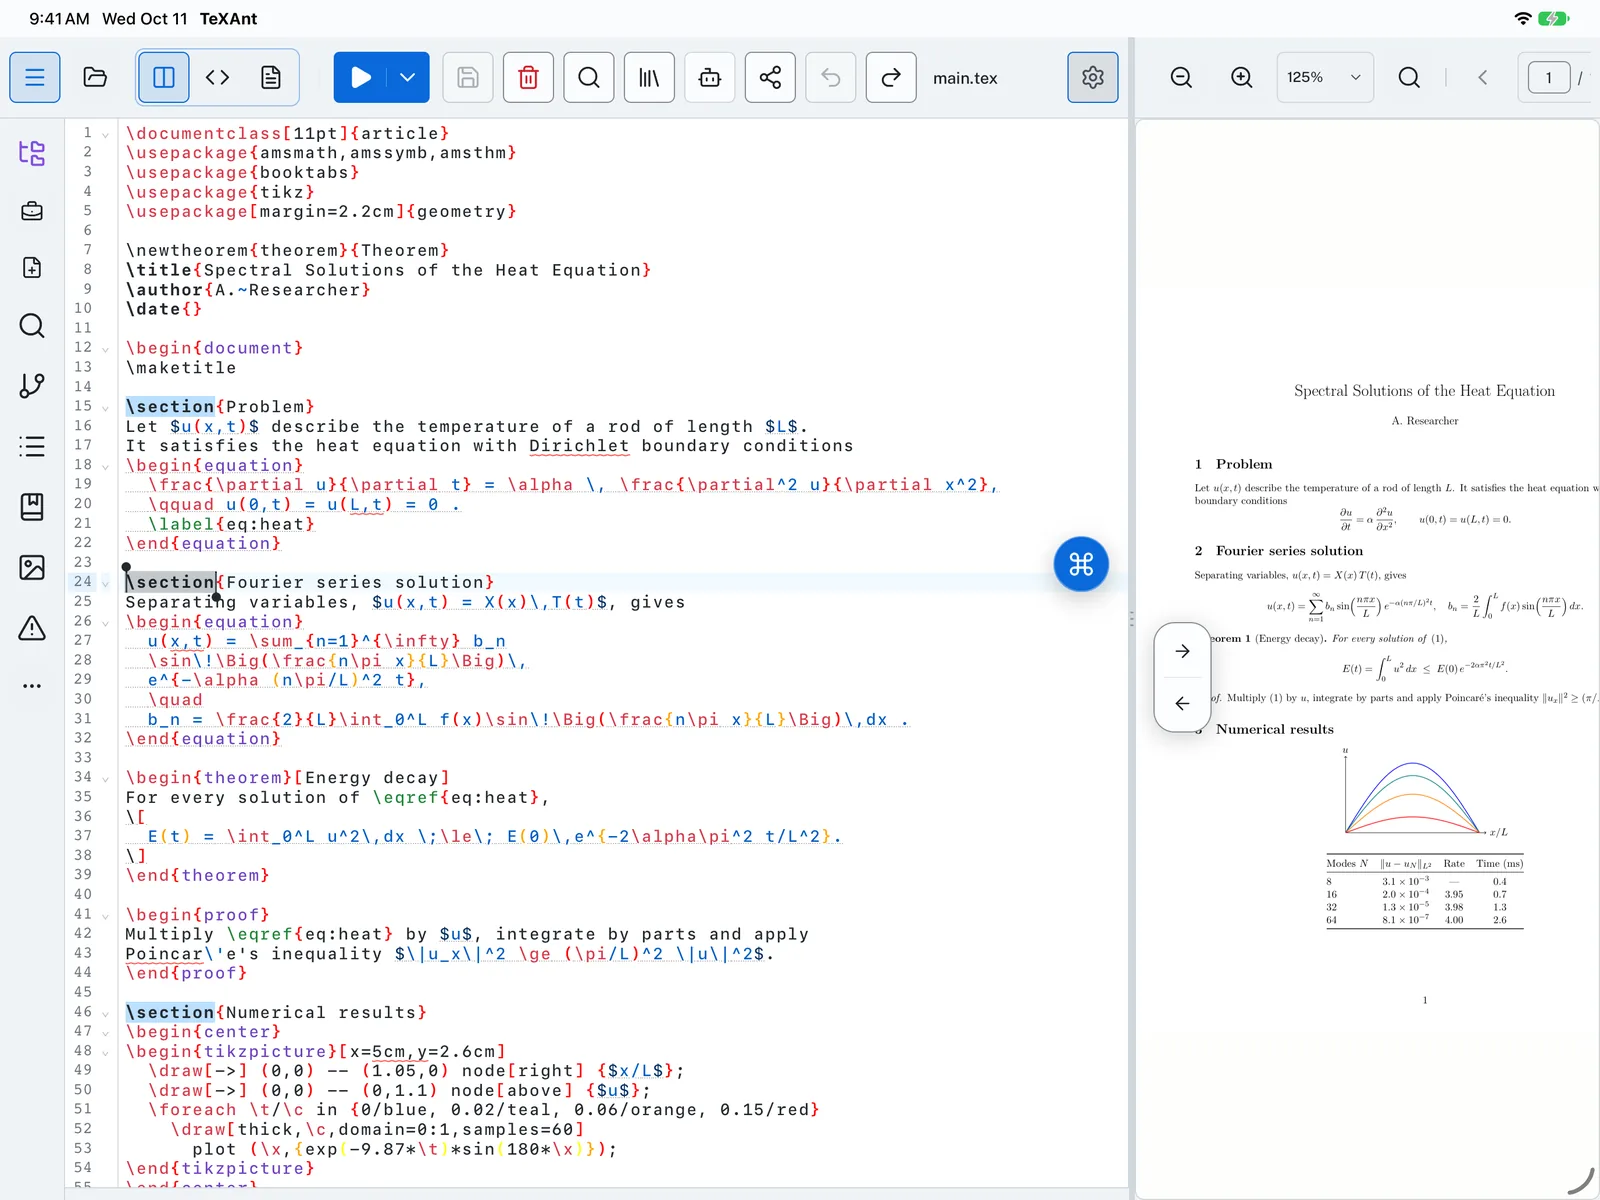
Tap the play button in the editor's top bar, or press ⌘ Return on a keyboard. The PDF appears on the right in split view. The arrow next to the play button offers Full compile, which starts clean, and Fast compile, which reuses the last run while you iterate.
4. Install a missing package
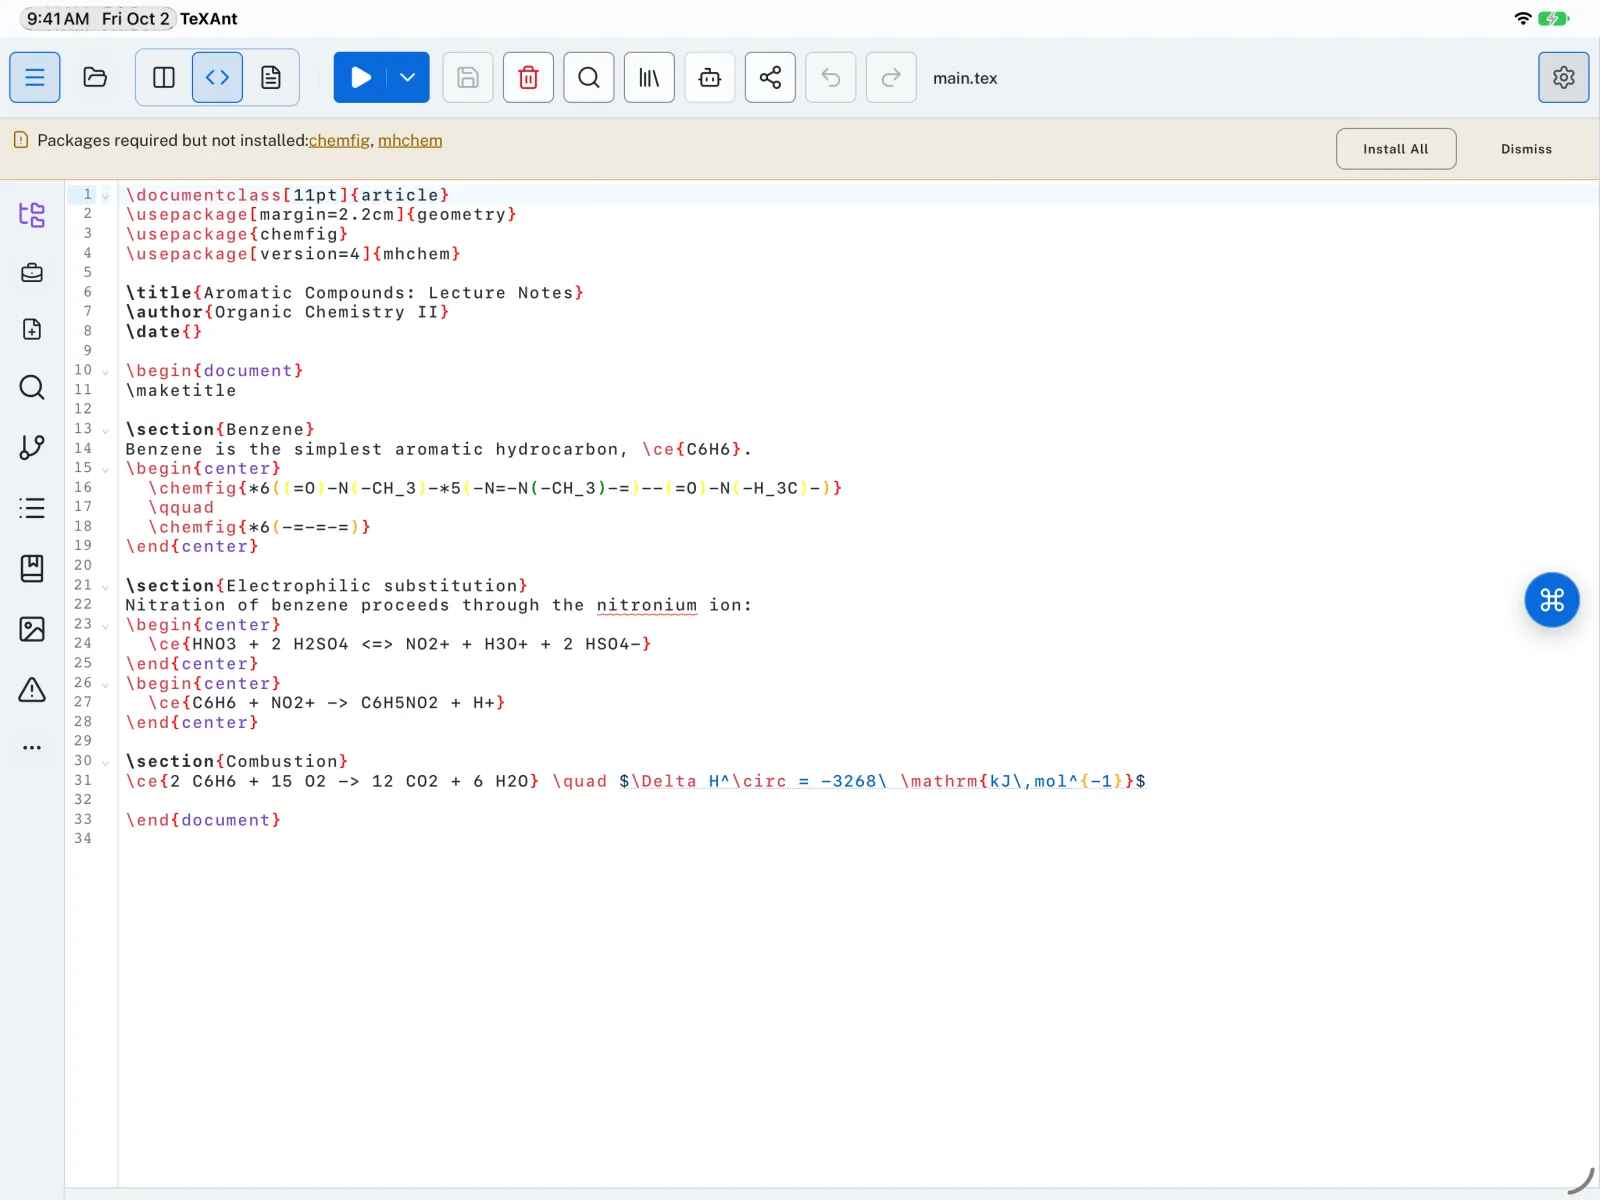
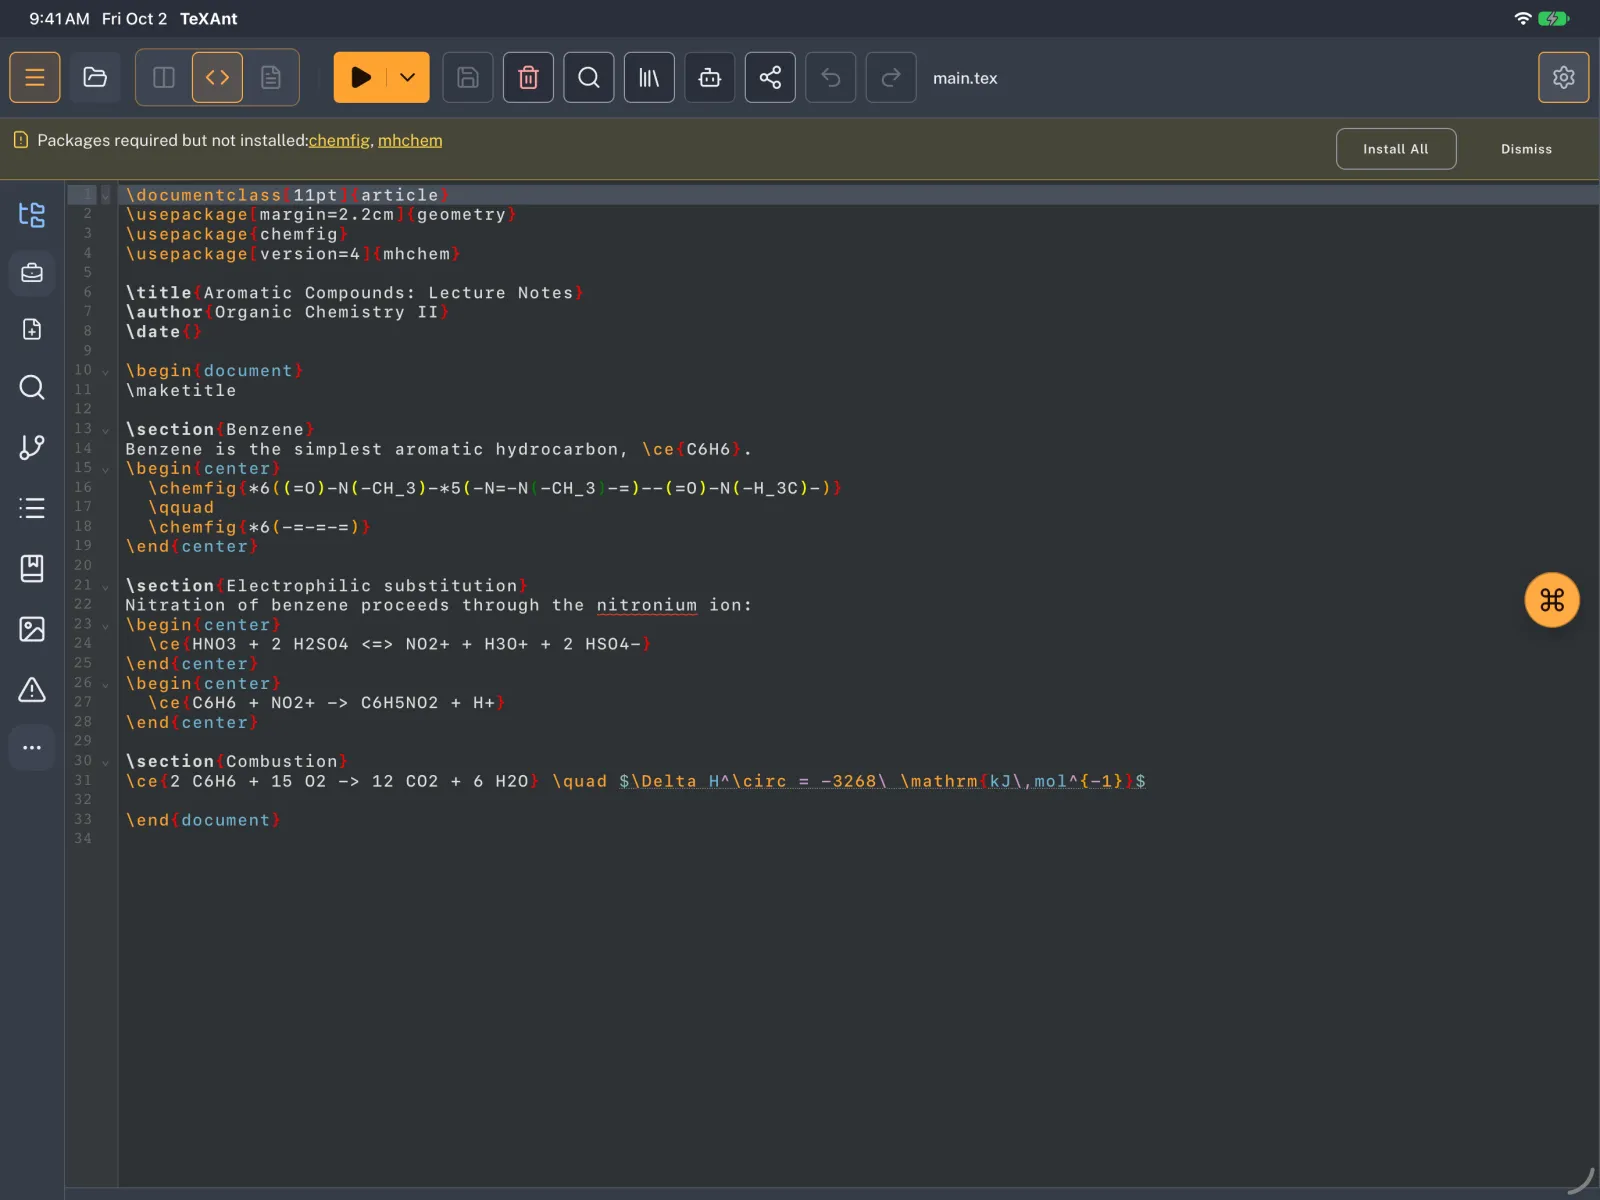
If your document loads a package or font you do not have yet, the compile stops and a banner lists what is missing. Tap Install, or Install All when there are several, then compile again. The download needs a connection; once installed, the package works offline.
5. Jump between source and PDF
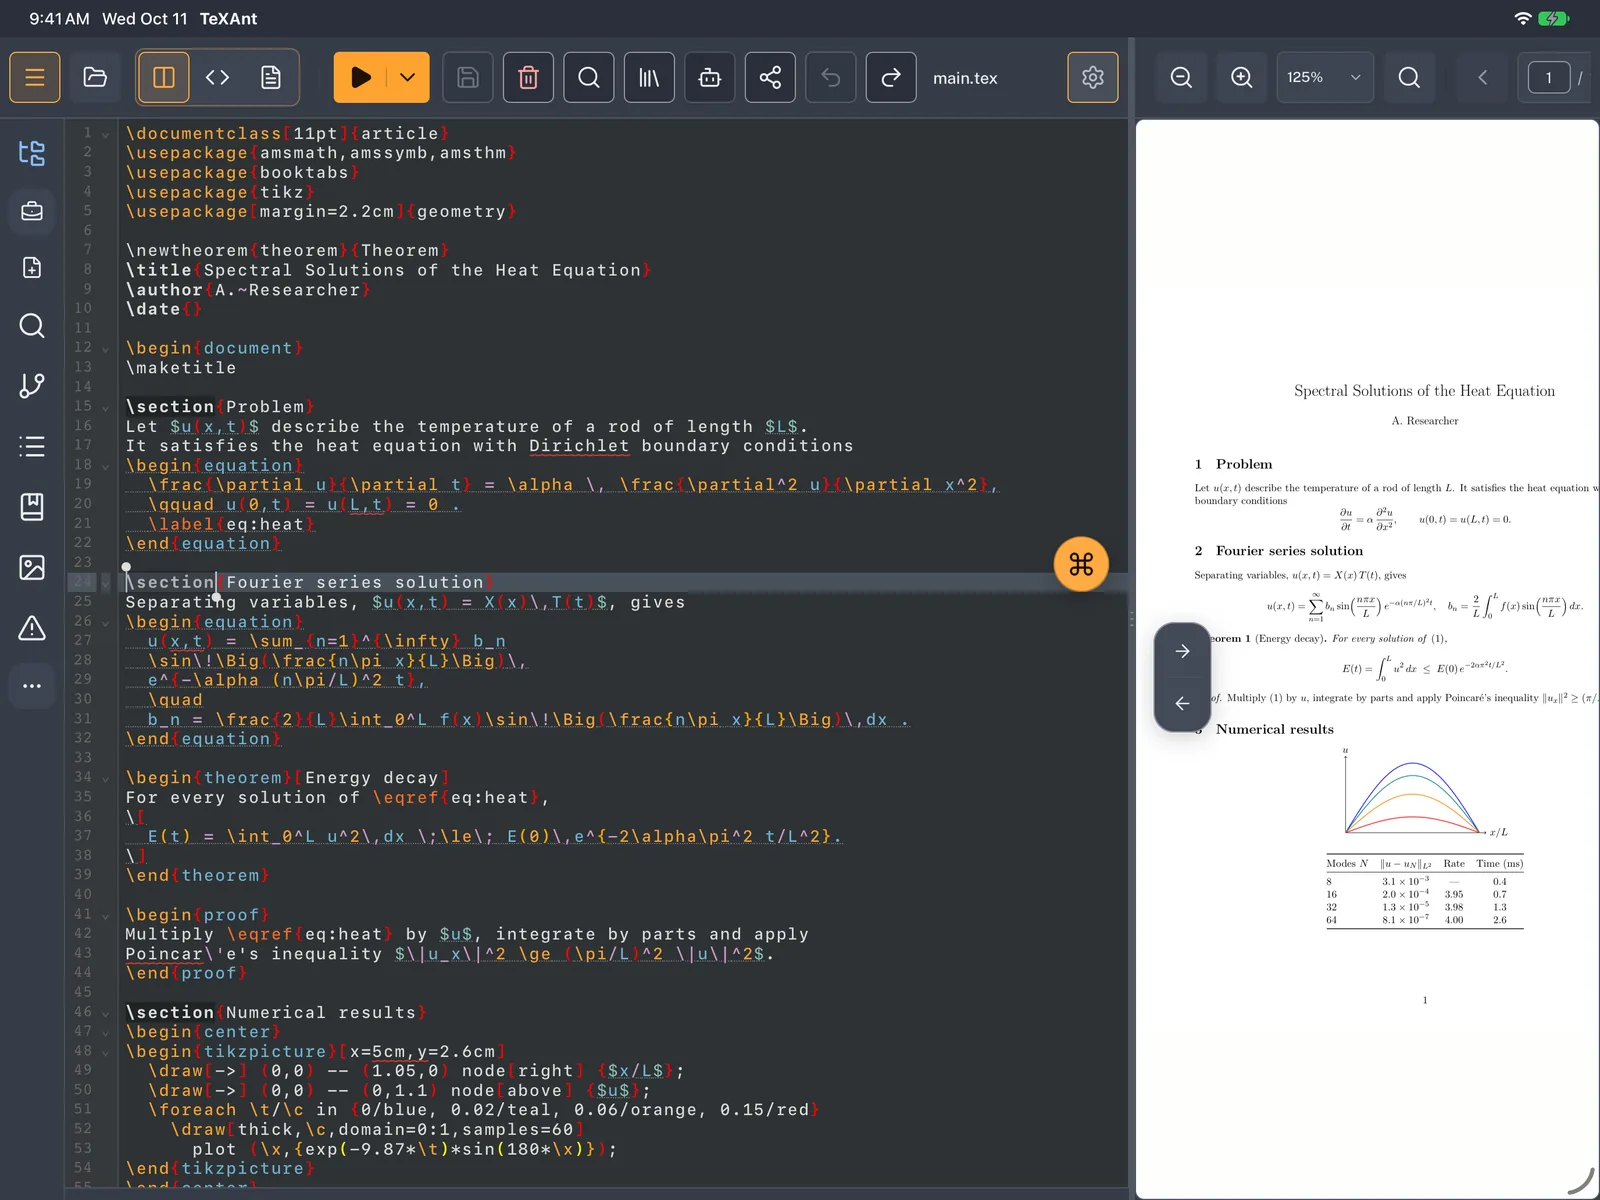
SyncTeX is off until you turn it on: open Settings → LaTeX Settings, switch on SyncTeX and compile again. Then, in split view, the PDF follows your cursor and scrolls to where the line you are on was typeset. Tap a spot in the PDF and the editor jumps to the line that produced it.
Where to next
- Step-by-step guides for one task at a time: the editor, the PDF reader, Git, cloud sync, references, AI and more.
- Will my document compile? What works on the device and what does not.
- Working with Overleaf: bring Overleaf projects to your iPad and send changes back.
- Keyboard shortcuts for Magic Keyboard and other hardware keyboards.
- Support for everything else, or write to us.